Tutorial, including photo instructions and free printable download, for making your own Bible verse coloring magnetic bookmarks.
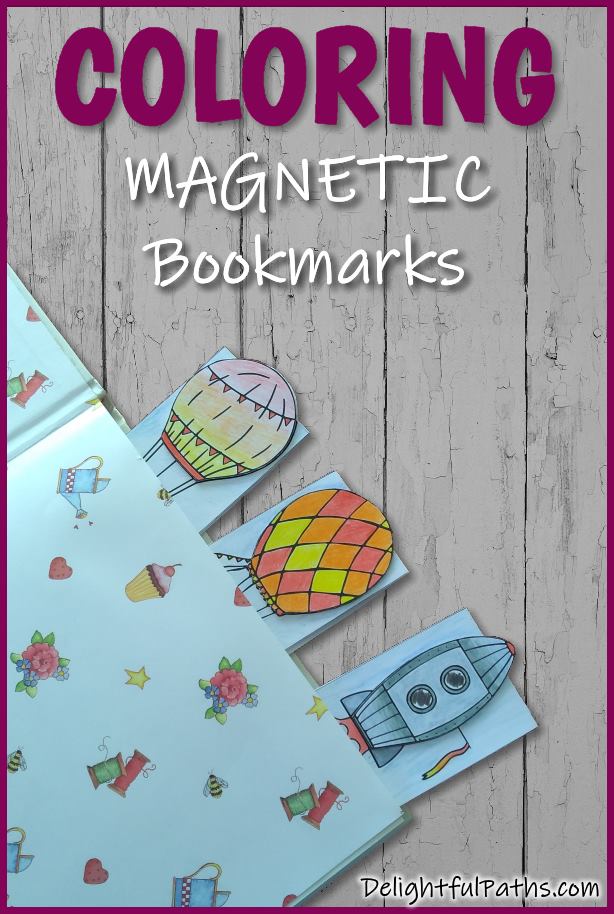
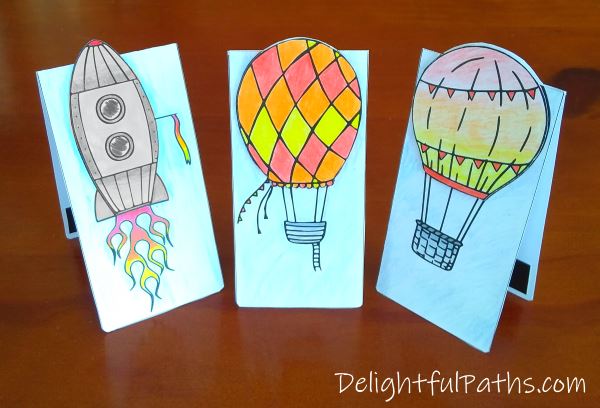
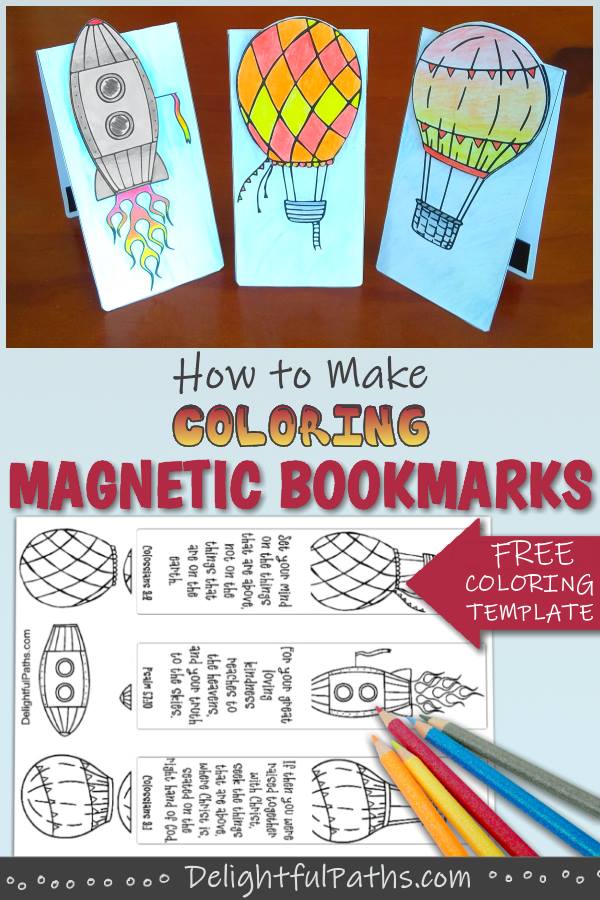
These printable “Things above” Bible verse coloring magnetic bookmarks have pictures of hot air balloons and a spaceship / rocket. They fold in half and have two magnets on the inside – one on the front section and one on the back section. This means that when the two sections come together, they snap shut because the magnets attract each other (remember your science lessons!). So you can snap your bookmark in place to mark the actual line you are up to on the page by putting the bookmark in on its side (horizontally).
The Scripture verses on these “things above” bookmarks are:
Set your mind on the things that are above, not on the things that are on the earth. Colossians 3:2
For your great loving kindness reaches to the heavens, and your truth to the skies. Psalm 57:10
If then you were raised together with Christ, seek the things that are above, where Christ is, seated on the right hand of God. Colossians 3:1
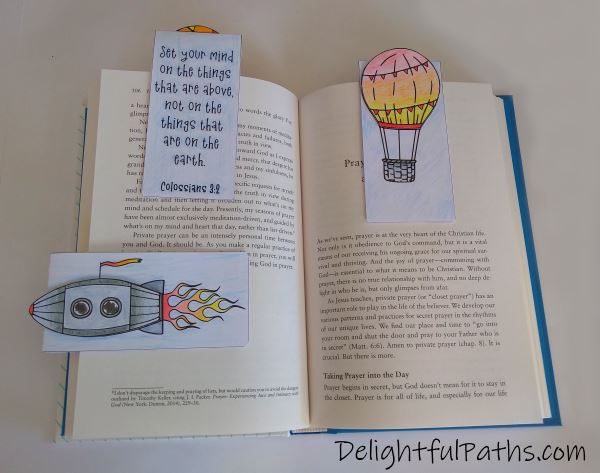
These printable Bible verse coloring magnetic bookmarks are easy to put together and make fun gifts or favors for:
- kids’ birthday parties
- baby showers
- bridal showers
- birthday gifts for all ages
- stocking stuffers
The coloring page for these magnetic bookmarks is available in my free resource library. (Library access instructions are at the bottom of this post.)
What you need to make the coloring magnetic bookmarks
- magnetic bookmarks printable coloring page (available in my free resource library – get the password for free by filling out the form at the bottom of this post)
- cardstock for printing the page (preferably white or cream)
- pencils, pens or markers for coloring
- craft mat
- ruler
- scoring tool
- scissors
- double sided tape or glue
- thin magnets*
*In this magnetic bookmarks tutorial, I have used a large recycled magnet which was an advertizing calendar. You really want the magnets to be reasonably strong since they have to grip through a book page. Some of my recycled magnets (umm, yes, I have a little collection!) were not really strong enough, but others worked well. It is best to get two magnets which snap together when you bring them near to each other. You also don’t want really thick magnets because you don’t want to damage your book by putting something too fat between the pages.
How to make your magnetic coloring bookmarks:
Step 1: Print, Color and Score
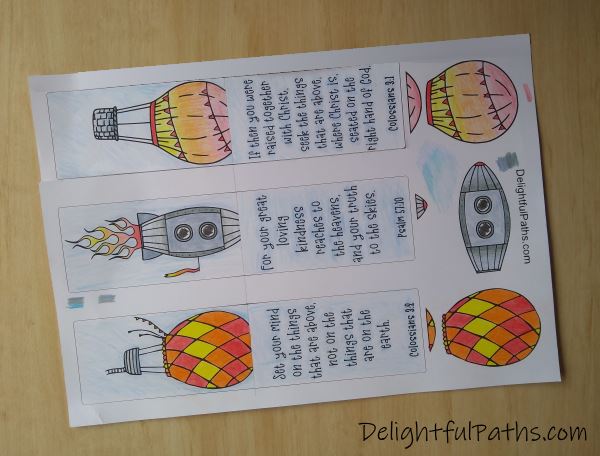
Print out the bookmarks on card. Color them with your favorite coloring media. Note – you do not need to color the balloons or spaceship (apart from the fins and flag) because you will be sticking the colored version on top. You can see that I did though – what can I say… I just got a little carried away 🙂
Optional: Using the ruler and scoring tool, score along the fold line before cutting out the pieces. You can just fold along the lines after you have cut them out but the fold line won’t be quite as neat.
Step 2: Cut and Fold the Bookmark
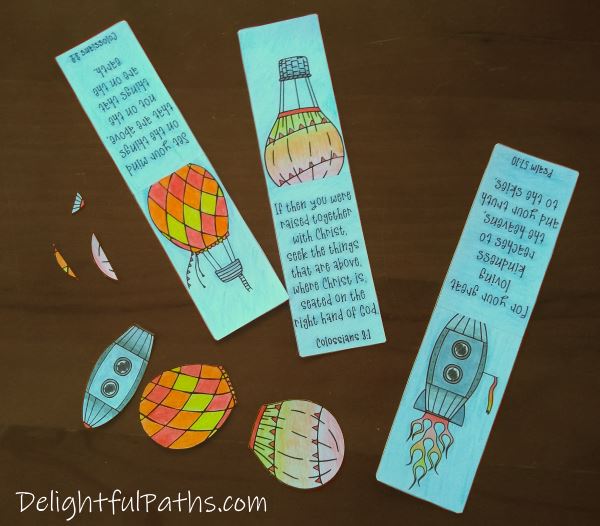
Cut out the bookmarks and the hot air balloons and spaceship. I like to use a craft knife and ruler for long straight edges and scissors for the curvy bits.
Now fold the bookmark along the fold line in the middle of each bookmark.
Step 3: Stick on the Hot Air Balloon and Spaceship Layers
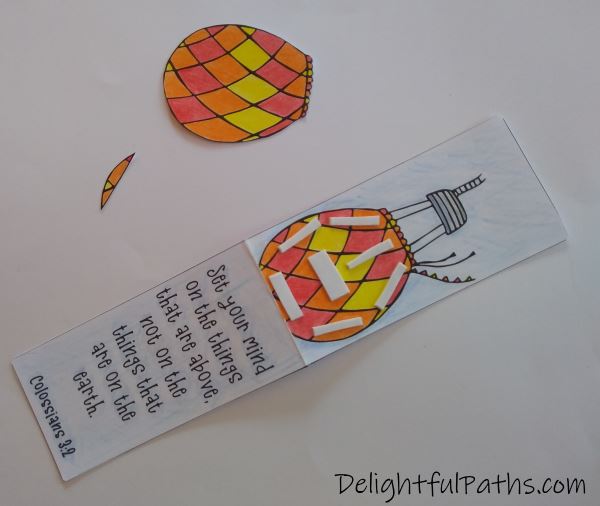
Stick each balloon and the spaceship to the top the corresponding bookmark, lining up the picture. I like to use double-sided taperather than glue because glue tends to warp the item after it dries. You could use thin or thick tape. Thicker tape will give the bookmark a more 3D appearance. I have used thicker tape in mine.
Here’s a picture with the embellishment stuck on
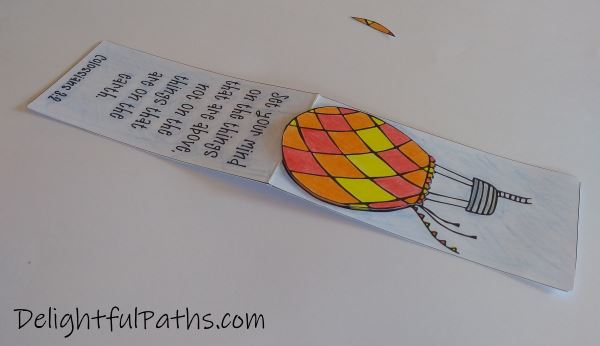
… you can see how it slightly overlaps the top of the bookmark.
Now turn the bookmark over and stick on the extra little top section.
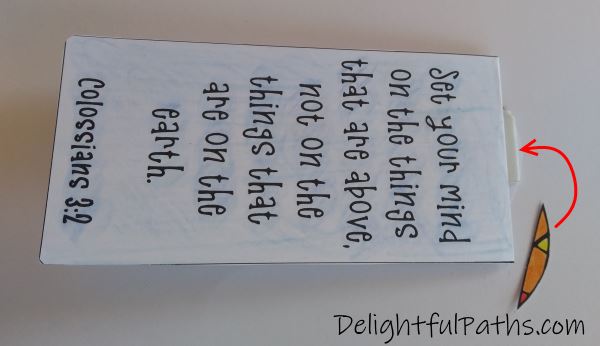
Step 4: Attach the Magnets
If you are using recycled magnets like me, first cut out a rectangular section. My section was about 2 inches by ¾ inch. The exact size is not really important – you just don’t want it to show from the outside. Once you have cut out the first section, test it out to see which way it seems to grip best on the rest of the magnetic sheet. Then cut out a matching magnet around this first one.
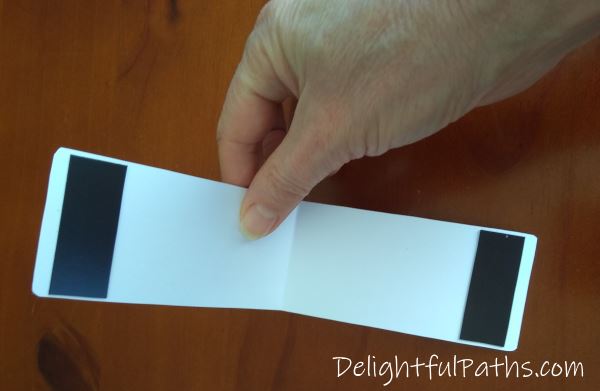
Now the final step – attach the magnets to the inside of the bookmark.
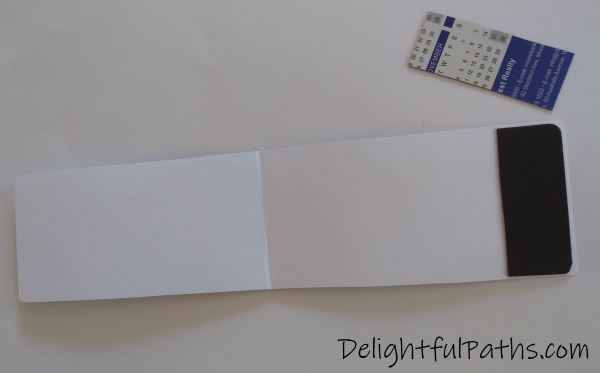
The best way to do this is to attach one magnet to one side of the bookmark. With my recycled magnets, I used double-sided tape to attach them. I stuck the print side down so you can’t see the writing on the magnet.
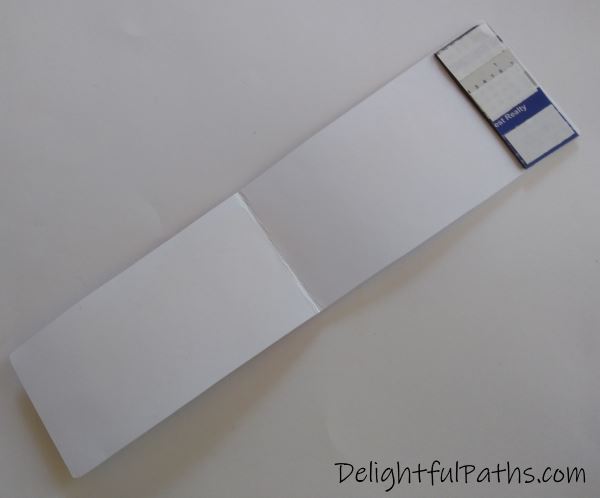
Now connect the other magnet to first one and add your tape to the back of this magnet. This will ensure that the magnets line up properly when the bookmark is closed. Now fold the other side of your bookmark over the top and push down firmly to make sure your magnets stick well. Open up and this is what you see 🙂
Get my free coloring page for the Bible verse coloring magnetic bookmarks:
Subscribe (free!) to get access to the magnetic bookmarks coloring page (as well as my whole resource library with all my coloring crafts and printables!) Once subscribed, I will send you a semi-regular newsletter with details about my new free files, occasional offers, and other things you may be interested in.
Save the coloring magnetic bookmarks to your favorite Pinterest board
I would love to make these during Rally Day for all ages… We are using a hot air balloon theme … Lift your spirit!
Very nice project. I have a dear friend that would like this. I need the password so I can download pattern. She doesn’t have internet service.